Photography basics, Part 2: Memorable photos through exposure and white balance

Introducing the second photo is “exposure and white balance.” If you’re a new camera beginner who has heard of this terminology but may not really understand it, let’s study together!
Introduction to Photography and Contents
The first aperture and shutter speed.
The 2nd Exposure and White Balance
III. Lens Type and Perspective
The 4th Annual Meeting of the Japanese Society for Photography
5th "How to Choose a Camera"
Contents [ hidden display ]
exposure correction
and when you take a picture, the right amount of light last time I explained it with an example of a glass of water: Basically, the camera automatically adjusts the combination of aperture and shutter speed, but in certain circumstances its adjustment can go crazy.
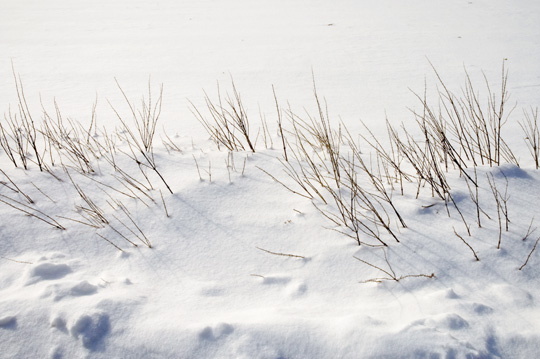
It's when you take a picture of something pure white or black, for example—the snow is gray if taken as it is. This happens because the exposure meter on your camera (a device that measures light brightness) assumes to capture a gray with a reflectivity of 18% so you can judge that the lighter color will be "too bright and dark" while the darker one is "too dark."
Exposure correction is a feature that works for most cameras. Normally, white ones can be adjusted at + and - scales, while black ones will be white when they are positively corrected and darker when negatively corrected. When you take snowy landscapes, for example, plus corrections don’t make it gray or white in pure snow.
Snow Photos (No Exposure Correction)
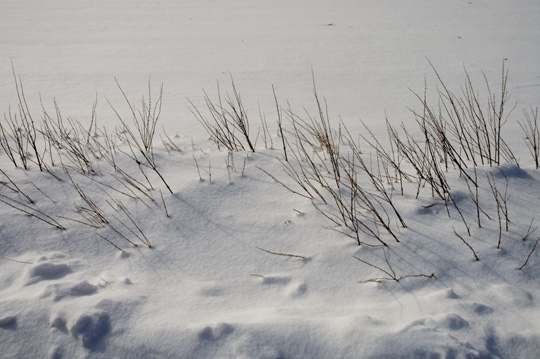
Snow Photos (Exposure Correction: Plus Corrections)
actively utilize exposure compensation
Exposure correction is originally a function to use for correction, but you can intentionally take photos of overexposure (high-key) and underexposure (low-key) using it as an expression.
Hikey picture
rokey picture
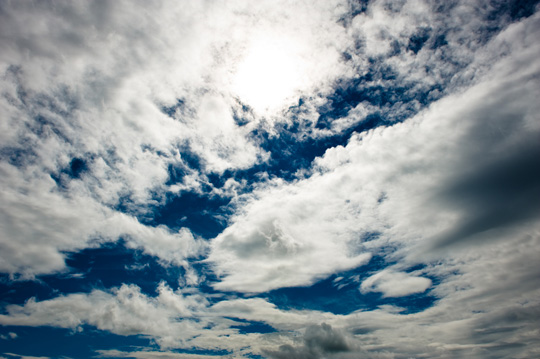
gray with a reflectivity of 18% that the exposure meter is based on

This is a gray card, which has 18 percent reflectivity based on the camera's exposure meter. The exposure meter in the camera premises to capture this brightness grey. Extremely speaking, when you take something brighter than that it will be darker if you don't make an exposure correction on the positive side and lighter than that when you shoot something darker than this one. Gray cards are easy to buy at camera retailers or other places. I'll explain how useful these items can be used later.
white balance
There’s a “white balance” setting that is unique to digital cameras, and while it might be auto-shaped in general, this feature lets you see white as the color without yellowing or bluish.
There’s something called “color temperature” that changes color depending on the type of light, such as sunlight, cloudy skies, fluorescent lights and bulbs. In order to properly project white as a color, it is necessary for the camera to correctly recognize the colors of the light in its environment, which can be set with “white balance”.
For example, I would like to see how the white balance setting changes and how it will change.
fluorescent light mode
This dish is filmed with fluorescent lights on, so if you want to set a white balance, select "fluorescent light" and it will generally be shown in the correct color.
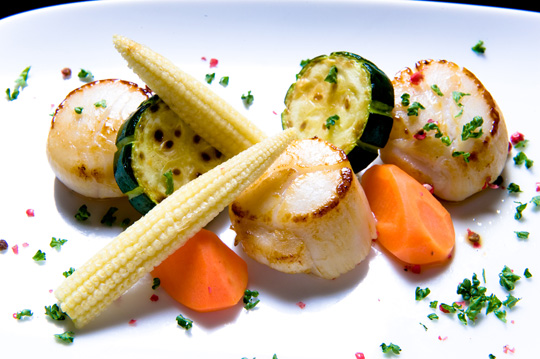
However, there are subtle differences in the color of light depending on fluorescent lights, so strictly speaking white balance is slightly disparate; a way to match this even more properly will be explained by “custom balance”.
clear-air mode
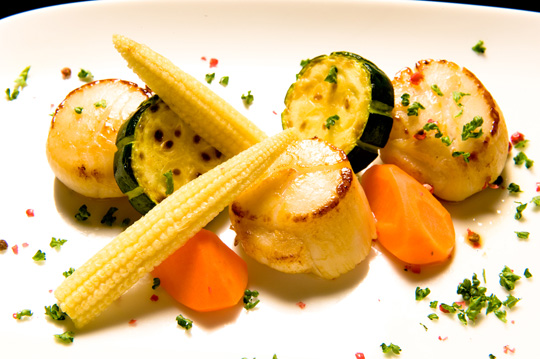
In the same environment, I set it to a white balance in clear-air mode this time and shot it is slightly red.
bulb mode
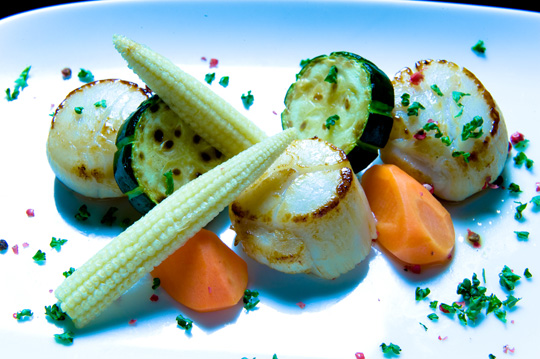
I set it to white balance in the light bulb mode and took a picture, which was unnaturally blue because of its large shifting white balance.
custom white balance
In the "fluorescent light mode", he said, "There is a slight difference in color of light even with the same fluorescent lamp, so even if you correctly select the fluorescent light mode, the white balance will be slightly off strictly.
In order to strictly balance the white color and "reveal white as a color", we use gray cards, introduced in the Exposure Correction section, which are grey of an achromatic color (grey with no reddishness or bluish color without brightness).
When setting the camera’s white balance, select “Custom White Balance” and when you take this gray card it will set a white balance based on that (see Custom White Balance in your camera instructions for more detailed settings).
The photo below is taken with a custom white balance, and the color fits perfectly.It doesn’t necessarily need to be used in ordinary shooting, but I think it will help you know what White Balance looks like.
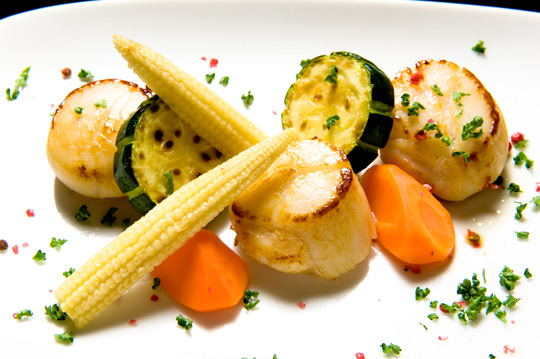
Custom white balance settings like this are essential if you need strict color matching such as product photos, even if it is not in that case, when you take a picture of food the white balance looks more delicious and will look good!
actively utilize white balance
White balance is originally for correction, but it can also be actively used. For example, when you take a sunset, if you select the cloudy or shade mode in white balance, red sunsets will be taken more than they actually are. Please change various settings and try them out.
Aperture, shutter speed, exposure and white balance. The basic terminology of photography and camera is getting better. Next time we're going to talk about "lens types and perspective," the fun of choosing a lens as you start learning it! Here are some easy-to-understand differences in lenses!