Photography basics, Part 4: Simple tips for taking photos that feel different

The fourth photo introductory is “The Tips When Taking a Photo,” and while there isn’t one right answer to how you take it, knowing the tips might be able to take different photos than usual.
Introduction to Photography and Contents
The first aperture and shutter speed.
The second exposure and white balance.
The 3rd Lens Type and Perspective
The 4th the tips for taking a picture.
5th "How to Choose a Camera"
Contents [ hidden display ]
by making it so simple
When you realize that there is no more than one thing on the screen, I think your photos will change. What do you want to take and what do you want to express? At a glance it becomes even more impressive when it becomes easier for people who see pictures.
There is a difference between the human eye and photography, whereby the human eyes intensively look at what they're conscious of. Photos show things in their screen flat, so when you see them on-the-fly, it tends to be more fragmentary than if you were looking at an object on the spot: If you decide what you want to take consciously, make sure that no one else gets inside or doesn't notice your background.
When it comes to apertures, if you focus on what you want to take, make sure that the aperture is close to opening or open and blur others, then simply the theme will stand out.
be conscious of light
Since the camera captures light, it is important to be aware of how the light hits.
There are forward and reverse light in the direction of light hit, but basically it is more likely to be a ordinary photograph though you can take it without failure.
In the case of backlight or semi-backlight, it’s easy to get stereoscopic and dramatic photos on a subject; you can dare to aim for reverse light, highlight contours, transmit light to make it transparent.
However, in the case of backlighting it is easy to be under-exposure so please do not forget about exposure correction as appropriate.
* If you want to learn about exposure again: here Please refer to the article.
and the law of three divisions
There are many things that have been said about the composition, but I think it is important not to be too constrained and take photos with a sense of importance. However, as a general story, there is something called "the law of three divisions," so here we will introduce you.
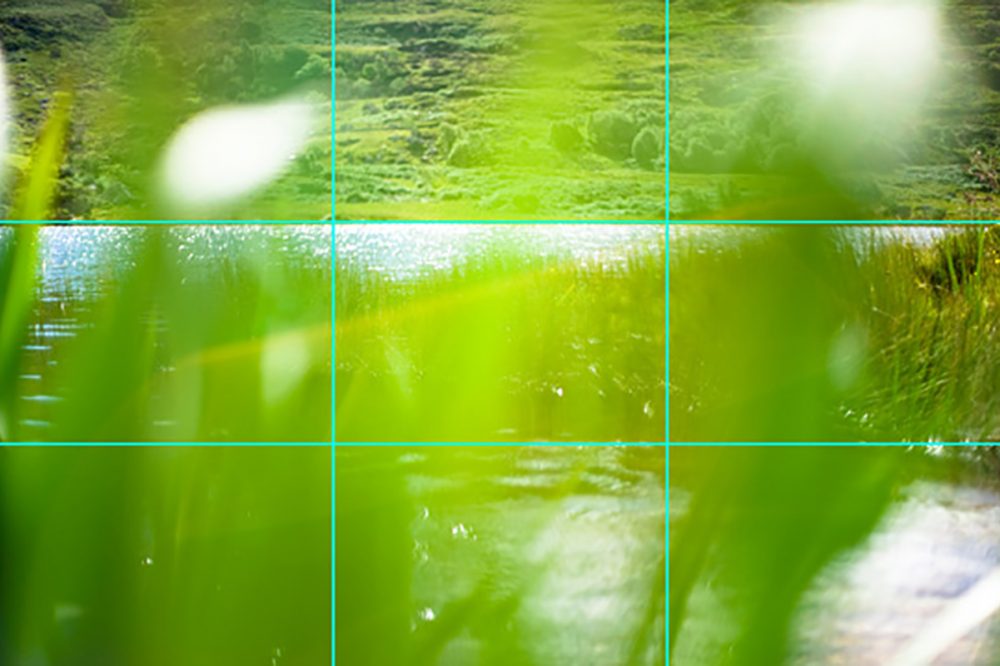
Example 1
This photo is placed in a third of the horizontal line from above, so it’s easy to take balanced photos just by following this three-part rule.
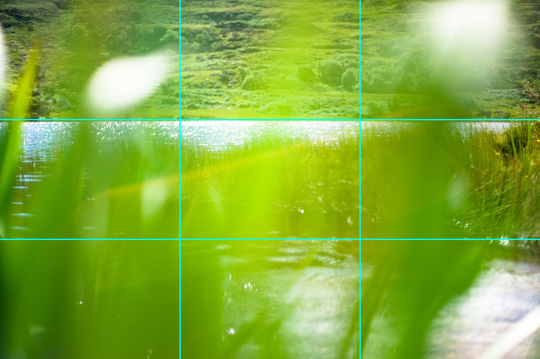
Example 2
When you take a picture, the focus is centered on the finder so it might be more likely to place what you want to shoot in the middle, but as shown by this three-part rule, if you shift your chimney from left to third of a position, it will change rather than center.
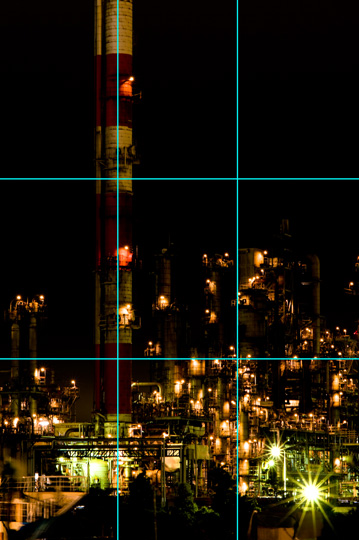
Example 3
Even if you take more than one thing, this law can be used: when two trees are put together on a three-part line each, the space becomes clear and visible.
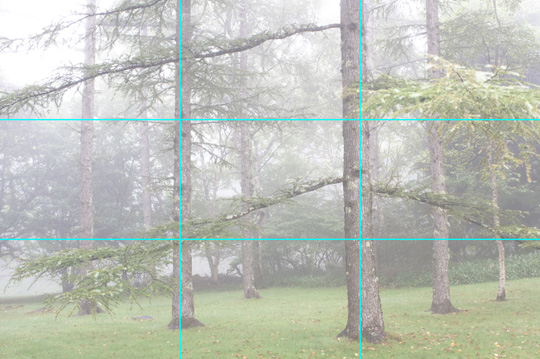
try changing the angle
Let’s look at an example of two photos to see how a photo changes when you change the angle.
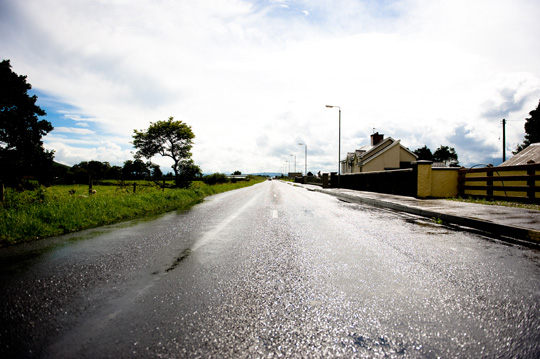
The photo above is taken with the angle of human eye height (eye level).
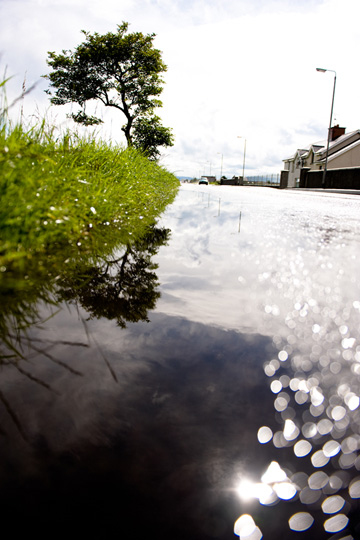
This photo was taken with a low angle from close to the ground, and you can see that changing an angle makes it look very different.
horn-conscious
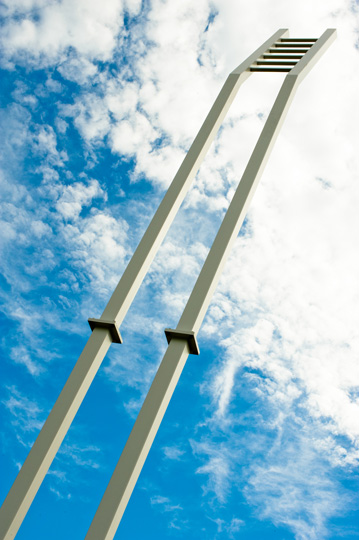
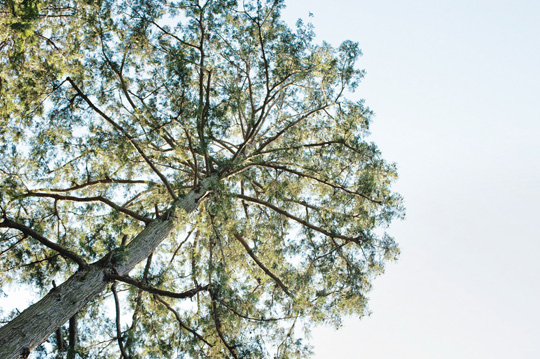
In the form of a rectangle, there are four corners; it may be very common, but when you think about that angle, you can take different photos.
For example, when you’re shooting a linear object, as long as the line passes through an angle, it makes you feel the line spread out; it is cut into rectangles but doesn’t make you feel that way.
Outgoing: iPhone Cameras
In the standard iPhone camera app, there are only two things you can set other than flash: on/off grid and on/off HDR, which is displayed by pressing "Options".
grid
The iPhone camera grid is a grid of three-partitions that I described earlier, and if you want to be conscious about the three-partitions, it'll help with balanced framing.
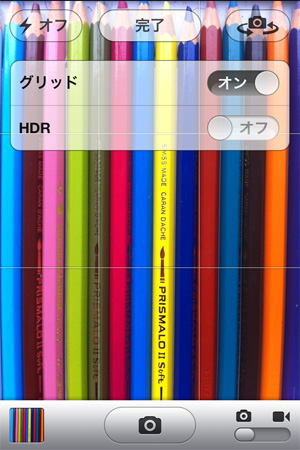
HDR
When the difference in light and dark of a subject is large, when you take it normally the bright part flies white and the dark place collapses black, but when you turn on HDR, it can be taken as if the light is exposed.
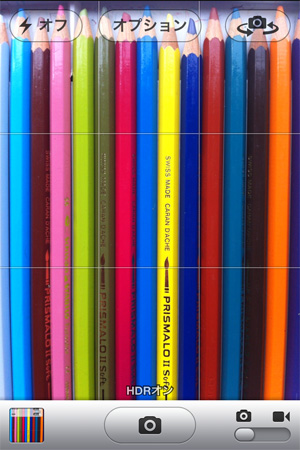
The HDR works by automatically synthesizing the light and dark areas of three different photos with different brightness (exposure). As a caveat, when shooting moving things, please be careful because there are cases where the composition is blurred and it does not finish beautifully.
manual focus and exposure points.
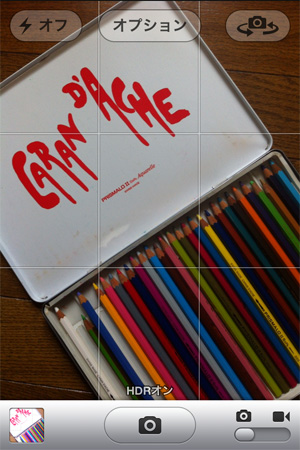
When you shoot your iPhone as it is, the focus and exposure are aligned in the center of the screen.
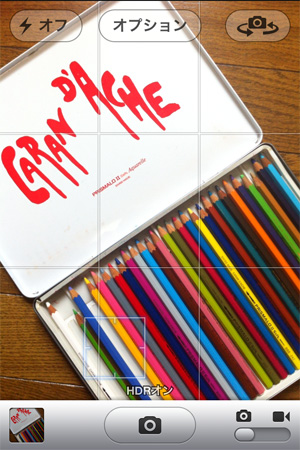
As a result, when the white thing is in the middle it will darken up and you can take pictures of appropriate exposure (brightness) by tapping on the place that you want to set as brightness criteria (and where you want to focus).
Shooting as it is (darkening)
Tap on a non-white spot, and you'll get the right brightness.
about zoom.
The iPhone camera has a zoom function, but this zoom is called digital zoom and expands with digital technology rather than lenses, so the image quality will be degraded when zooming, so if you don't use zoom as much as possible in an iPhone camera, it can shoot beautifully.
The tips for shooting that I introduced today may be a little bit, but it is easy to do so please try them. Next time we will talk about “How to choose the camera”。I would like to tell you information that can help when there are many kinds of stores and get lost!