
Import an existing website into Local by Flywheel in three minutes with a ZIP file

Hi. I'm the engineer Kawashima.
The problem with creating a WordPress site is that you need to build your local environment, especially if you have an existing site that requires more effort than building a new one by setting up settings and providing the content of fixed pages.
However, if you join a new team such as changing jobs or moving to another company, it is almost always an existing site that needs to be built.
Therefore, NONSTA uses a tool called Local by Flywheel to build the local environment of WordPress.
That’s why Local by Flywheel is easy to use and easier to import from existing sites.
In this article, we will introduce how to import an existing site with Local by Flywheel.
Contents [ hidden display ]
Local by Flywheel
WordPress is a local build tool available for both Windows and Mac, and it’s free!
The official website is here. Videos that can be viewed from the top page show a variety of features.
Installing Local by Flywheel
this commentary article It is very easy to understand and recommended.
import procedure for an existing site
The procedure depends on the presence or absence of a zip file for importing an existing site.
If there is a zip file output from the team member Local by Flywheel, it can be completed within 3 minutes :)
How to Import an Existing Site Using a zip File
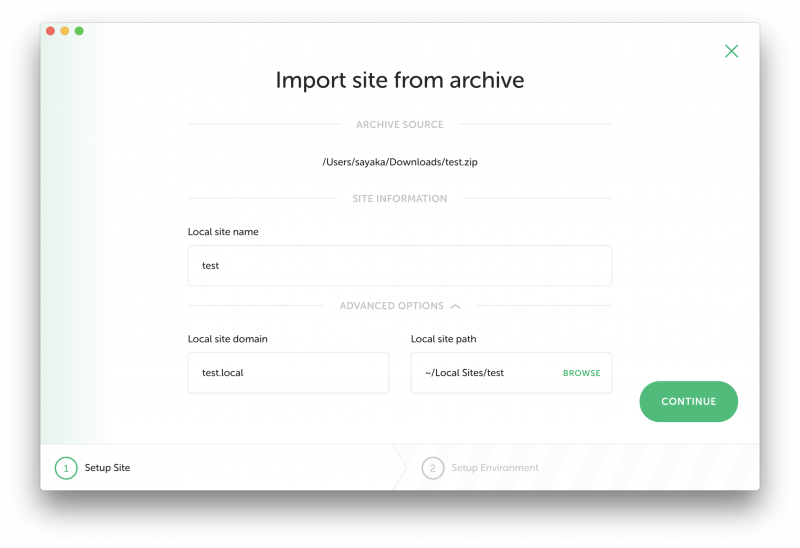
- Launch Local by Flywheel and read the zip file in menu file → Import Site.
- Set the site name and storage location. Change the Local site domain of Advanced Options if you need it (if your exporter is running on test.dev or something like that, rather than .local).
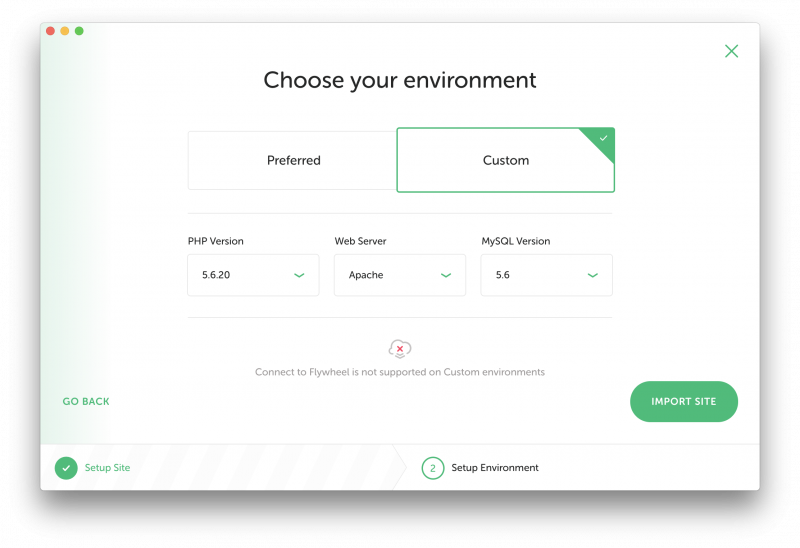
- Since the preferences are stored in a zip file, click “IMPORT SITE” without modification.
- Since the password of PC main body is asked, input it and wait for a while.
- Import is complete!
* To view the added site, click on "VIEW SITE" button in the upper right corner and if you want to warn your browser, change "Certificate" information from SSL tab to "TRUST".
So far, if there is no problem with the zip file side, you will be able to build your environment in about 3 minutes.
Non-sta also includes git information in the zip file, so you don't need to go through any git clone steps.. Add it as an existing local repository and start developing right away with a GUI tool like SourceTree.
Exporting zip files to existing sites
Select the local site you want to export on Local by Flywheel and right-click it to find an “export” menu, where you can create a zip file for importing.
If Local by Flywheel is already used in your team, you can easily build a local site for new entrants.
import instructions for existing sites without zip files
If you don't have a zip file for importing, take the following steps:
- Installing WordPress
- database import
- to replace the content of an existing site
Installing WordPress
- From the “+” button at the bottom left of the Local by Flywheel screen, proceed to the additional screen for a new local site.
- Set the name of any site, and Advanced Options allows you to change your local domain or file storage destination.

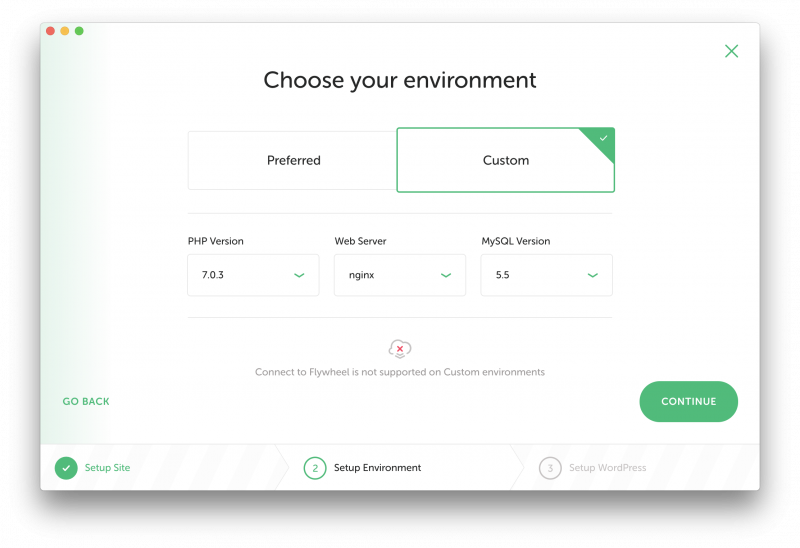
- You can choose the details by selecting "CUSTOM" and if you want to import an existing site, please set it in that setting.
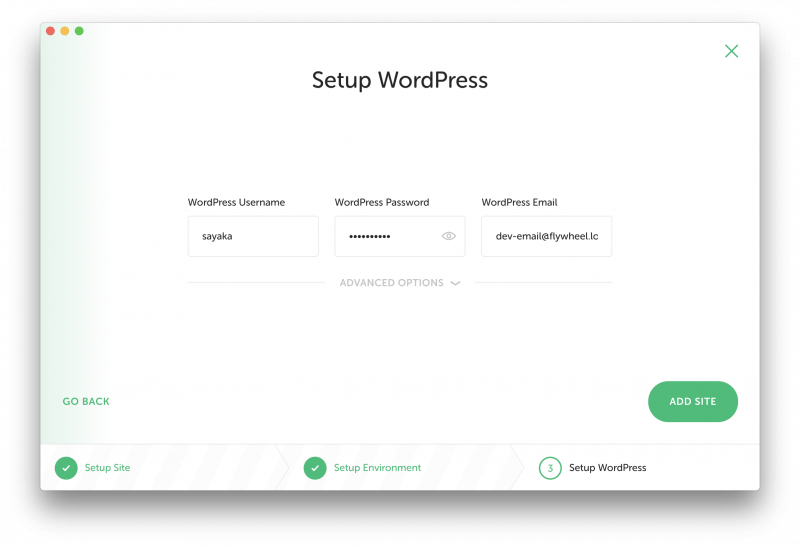
- Set up WordPress, this is the default setting and there is no problem.
- Since the password of PC main body is asked, input it and wait for a while.
With this, WordPress is installed and a local site will be created as follows:
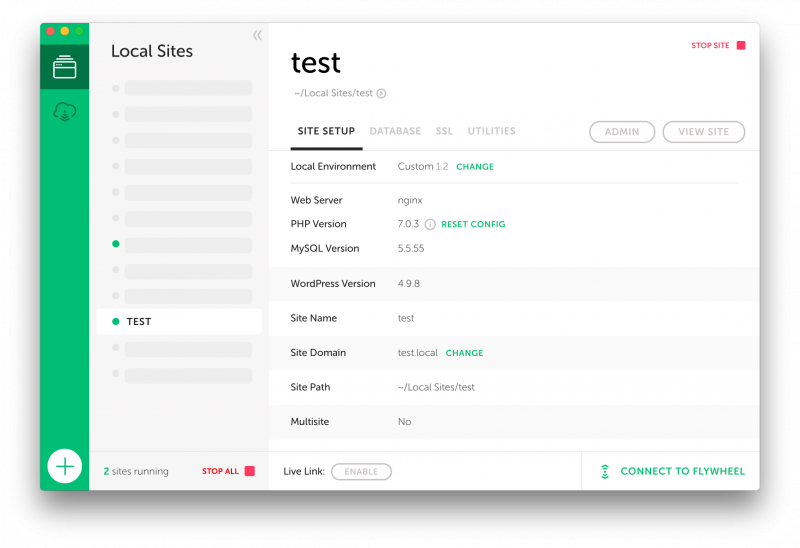
From “ADMIN” to the WordPress login screen, and from “VIEW SITE”, you can check your local site by browser.
database import
* Please prepare your existing site's SQL data before you do the work.
If you have the BackWPup plugin in WordPress, you can get a database backup SQL with just one click.
Local by Flywheel comes with a database management tool called Adminer by default Sequel Pro I use it.
The following is the procedure when using Sequel Pro.
- Open “SEQUEL PRO” in the DATABASE tab, please start your local site before accessing the database.
- In the left sidebar, select all existing data and right-click → delete multiple tables.
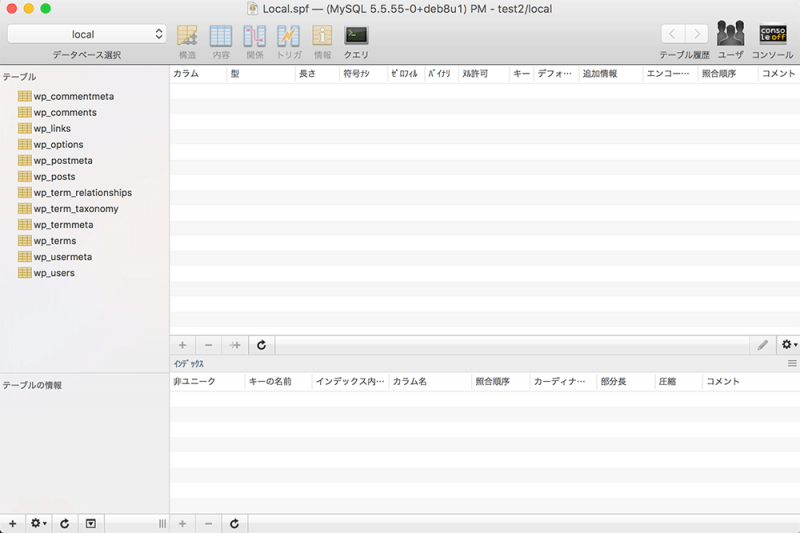
- Read the existing site's SQL data by "File" → "Import".
to replace the content of an existing site
So far, WordPress installation and import of the database has been completed.
Finally, replace your WordPress file with the content of an existing site.
There is also a method to download and replace the file set of an existing site with FTP software, but here we will introduce the procedure when an existing site is git managed.
The internal configuration of the WordPress site immediately after installation is as follows.
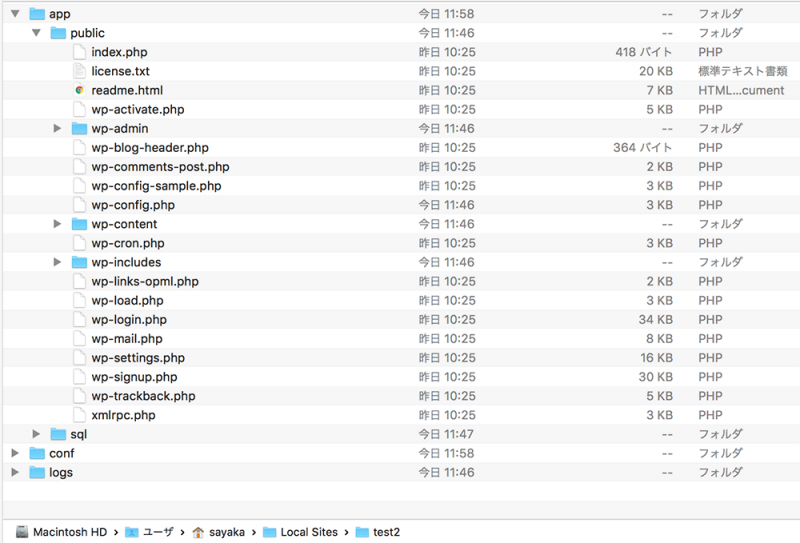
WordPress files are stored in the "public" folder, so replace them with existing site contents cloned from Git.
- git clone the repository of an existing site.
- Rewrites the directory name of an existing cloned site to "public".
- Delete the app/public or less inside of a local site created with Local by Flywheel.
- Move the directory you just renamed “public” to app/ directly under your local site.
- Register the moved public directory as an existing git local repository.
With the above steps, you will be able to build a local environment for an existing site without zip files!
instead
In web production, I think there are not many places that do not handle WordPress.
Especially, if you have a WordPress site that has been involved for a long time in operation, it is easy to create an environment for new members.
Local by Flywheel has a lot of useful features besides import, so please try it out.